by Bryant Falk
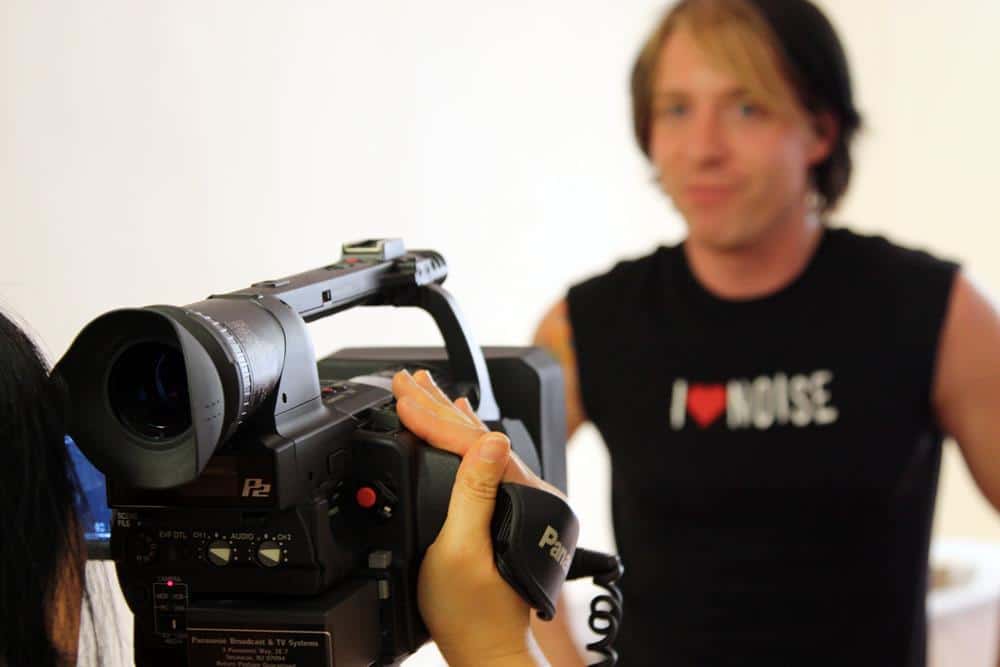
Since the early 60’s, the lavalier microphone has been used to capture audio. Its concept allowed the audio engineer to get the cleanest voice recording by getting the mic closer to the source. Some problems we get from doing this include clothing shuffle, muffled sound, microphones falling off, hand smacks, and many other issues.
The first challenge in using a lav mic is getting your talent wired up. Since concealment is key in wiring up a lav mic, it’s important you know what your talent is comfortable letting you do. I usually explain in a very diplomatic tone that the cable needs to be run on the inside of the shirt. Usually the talent will quickly run the cable up and through, then allowing you to clip the mic on top and the pack, (if it’s wireless) on the bottom. Some other options include taping the wire inside of a jacket, or if need be, to the talent directly.
Checklist for your lav mic travel pack:
(1) Lav Mic
(2) Batteries (for wireless rigs)
(3) Gaffers Tape
(4) Double Tape/Stick (sticky on both sides)
(5) Mini Pop Filter (like the hush lav)
(6) Vampire Clip, Turtle Clip (mic cage), Leather Strap
(7) Pre-Tape (Medical Tape)
(8) No Tape Glue (used for fake beards and other facial hair)
Okay, got all the stuff? Good, now let’s get some basic rules in place, so we understand why we have what we have.
Rule 1. The lav mic needs to be hidden. (Sometimes in plain sight works; most times it doesn’t.)
Rule 2. The top or capsule area must be free of anything rubbing on it.
Rule 3. The cable must be taped down to prevent unwanted noise.
Rule 4. Make sure Rule 2 is being obeyed!
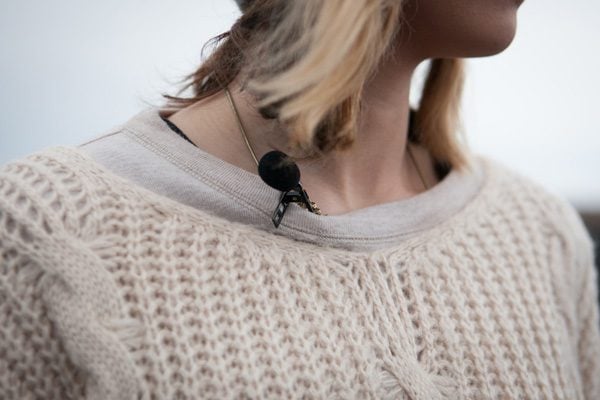
Using our double-sided tape and other glue material, we are basically creating a “pocket” or a “bubble” for the lav mic capsule to sit while getting it as centered and close to our talent’s mouth as possible. Richard Topham from Pro Sound Services was nice enough to demonstrate the many lav mic techniques you can use to get your lav effectively recording dialogue with minimal fabric and wind noise. One key focus is to get any fabric on the mic taped or glued down, so it does not rub the mic when talent moves. For example, after taping a lav mic to the actor’s sternum (chest area), it’s a good idea to add double-sided tape on either side of the mic and lightly stick the fabric of the shirt down. This will keep the fabric in that one area from moving back and forth.
There are a variety of techniques not included here, but follow the photos to see how you can effectively mic up your talent. Notice Yael (Yael Epstein) is wearing many different types of tops. This illustrates how to tackle the different challenges posed by each kind of shirt. Another option to note is the smallest of these mics (called the countryman) has many color options to allow you to further disguise what little part of the mic might actually be showing. A little mic can go a long way to getting great sound!
Bryant Falk has been a producer and engineer for over 12 years working with such clients as The Ricki Lake Show, Coca-Cola, Sports Illustrated, Valley National Bank, and MTV’s The Shop. His company Abacus Audio (www.abacusaudio.com) handles many aspects of the audio production field from creative and production to mixing and final output.
Featured in StudentFilmmakers Magazine, May 2008 Edition.
Sign Up for your own subscription to StudentFilmmakers Magazine.
- Click here to sign up for the Print Subscription.
- Click here to sign up for the Digital Subscription.
- Click here to sign up for the Bulk Subscription for Your School or Business.