Photo by Sam Moqadam. Instagram @itssammoqadam.
Evaluating an Indoor Location
From the DP’s Perspective
Written by Paolo Dy
A successful shoot is usually made up of 90% very thorough preparation and 10% ingenious last-minute thinking. Part of the preparation phase is the all-important location check, where each department can evaluate a location for its appropriateness and ease of use. Whether you’re shooting a feature film, a documentary, or even a corporate video, you need to consider the following so your location doesn’t give you problems come shoot day.
Space.
Give bonus points to any location that’s more spacious. This gives your production team more room to move around quickly, saving time and reducing the possibility of accidents. Evaluate not just the area where you’re going to shoot your scene, but also choose places within the location that will serve as your storage area (for equipment cases and so on), your craft services area, and of course, the make-up and prep area for your actors. Your props or art department might also need their own space for readying their stuff. This is more of a production manager’s problem, of course, but as a cinematographer, you don’t want to be jostling with the other departments for space.
Ambient Light.
A light meter will be handy in checking how much ambient light already exists at the location – and consequently, how much lighting equipment you need to bring to get the contrast ratios you plan to use. Windows can be tricky, depending on where they’re facing. North-facing windows are best for long scenes because you can shoot all day without having to worry about the sun’s movement changing the natural light characteristics in the room. (Of course, there may be situations where you want to use the natural morning or afternoon light streaming into a room.)
If you find there’s too much ambient light, you might want to knock down the amount of light entering through the window. If the window is not in the camera frame, this can be as simple as throwing black cloth over the window. If it’s in-frame, a common solution is attaching ND gels to the window glass. Some advocate using a thin film of soap water to attach the gels to the glass without having to deal with the mess of cellophane tape.
Power sources.
How will you power your lights? Can the in-house power support the lights you’re carrying, or will you have to bring your own generator? It’s highly recommended you find an in-house electrician who can tell you which outlets can handle your lights. Be especially careful in locations having computers. Don’t plug high-wattage lights on the same circuit
any computers or servers are plugged into, or you might just take the place’s entire network down.
How many floors up?
That great penthouse apartment with a splendid view of the city might be perfect for your scene, but know it will come at a price logistically. Find out if there’s a service elevator you can use to cart up your equipment. And if you’re using a generator, how will you get the main power cables to snake all the way up there?
Permits.
Depending on the kind of scene you’re shooting, you might have to secure permits not just for the location itself but also for the street in front of the property and perhaps coordinate with the local government or neighborhood association. Some places require you to inform the residents of the neighborhood to be informed about your shoot at least a day or two before it happens. Again, a production management concern, but you have to help make sure your generator doesn’t get shut down because one of the neighbors complained about it.
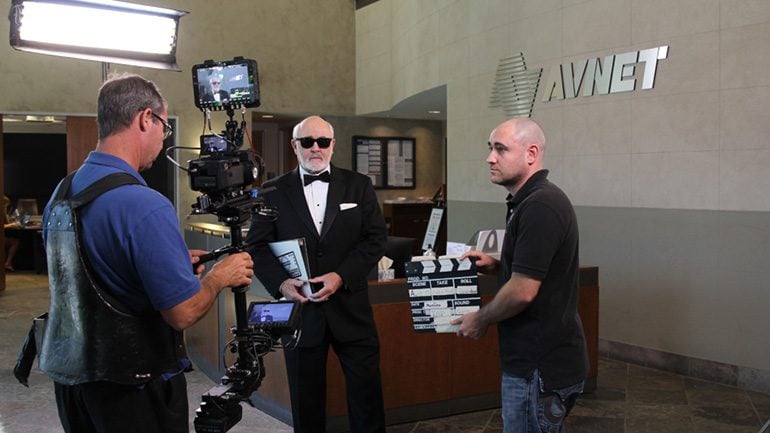
An additional thing to note about permits: when your location is within a corporate building, make sure your PM allocates enough time for your crew to unload the equipment, enter the building, find the service elevator, haul everything up, and get to the actual shooting area – with the requisite, show-your-permit-to-the-security-guard routine at each step. This will take much longer than you think, especially with buildings housing high-security clients like banks and large corporations. You may find yourself waiting an hour for the security people to ask for confirmations from three different people before you’re allowed to bring your equipment into the building.
Finally, don’t just assume telling the people in charge of the location that “we’ll be bringing in some film/video equipment” is enough, no matter how much they say they’re “used to this sort of thing.” What they are “used to” might be a single reporter and a single news camera with a tiny on-board light; and their eyes might pop out when they see your crew bringing in two tons of lighting and grip equipment. Write out your equipment list and give the people in charge a copy, so they know what to expect.
Mental Rehearsal.
Finally, it’s very useful to try to rehearse every planned shot in your head while you’re at the location. Think about how you’re going to light each shot, and see where you can place the lights you plan to use. And, have a “Plan B” lighting plot for critical shots, in case you fall behind schedule and you have to do these shots four hours later than you had originally planned.
With time and experience, you’ll learn to consider all these points automatically every time you walk into a new location, and your ability to pick great locations will become almost second nature. Good luck, and good hunting!![]()
Paolo Dy is a director, cinematographer, and screenwriter based in Metro Manila, Philippines. He can be reached at www.paolody.com.