Reference: StudentFilmmakers Magazine, August 2007. Adding ‘Kick’ to Three-Point Lighting: Two More Lights You Can Add to Your Cinematography Arsenal by Chris Cavallari. Pages 18 & 19.
As any first year film student should know, three-point lighting is the basic building block of filmic lighting. Begin with a key light, add some fill light, and finish off with a back light. This setup serves to model the subject, using shadow and highlight to not only illuminate but to also separate the subject from the background. Most often, you’ll see the three-point lighting setup in sit-down type, talking head interviews. Of course, this is the most basic of setups, and not all situations call for this type of lighting. In fact, three-point lighting only accounts for illuminating the subject of the shot. There are two more lights you can add to your cinematography arsenal to add ‘kick’ to your shots.
Basic three-point lighting throws light onto three points of the subject in a shot. When lighting a person, the key light serves to illuminate the side of the subject most closely facing the camera. It’s a fairly bright light that creates shadows and provides the most light on the subject, and sits relatively close to the camera. The key provides the most light for exposure in the scene. And, while it seems very straightforward, it can be a very important part of making a shot.
When I was in college, a great professor of mine told me in a television production class that lighting is not about throwing lights up all over the place and blasting the set. It’s not about pretty colored gels or huge 18Ks raked down a wet street. Lighting is about controlling shadows.
A single light will throw its beams onto a subject, highlighting its features. But, opposite the light source is where shadows roam. Those shadows can be your best friends, or your worst enemies. It’s your job to rein those shadows in and make them yours. The key light creates shadows – lots of them. And, depending on the type of light and diffusion, usually pretty harsh.
That’s where the fill light enters, stage left. The fill light sits further away from the camera, opposite the key light. This unit is usually effective at least a full f-stop below the key light. What the fill light does is control the shadows created by the key. It literally fills in the dark, shadowy areas of the face while allowing for a distinction between either sides. I prefer to use a fresnel spotted (as opposed to flooded) and with light diffusion. I use the barndoors of the light to control spill, but if those aren’t enough, I’ll flag off any excess spill so I don’t add to the ambient light. Many times, you don’t even need to use an actual light unit. Daylight spilling in through a window can be an excellent source of fill, as it’s very soft and can be color matched using color correcting gels. The danger with using daylight is that it’s very difficult to control spill, so flag carefully.
The third light in the three-point scenario is the back light. This light is positioned behind the subject and usually sits high above it, well out of camera range so as not to cause lens flares. This light is more of a separator light, allowing the viewer’s eyes to physically separate the subject from the background and creating more dimension in the image. The light is aimed at the back of the head and the shoulders of the subject, just barely falling on them, giving a slight halo of light to the subject.
Kick It Up A Notch
The basics are simple for a reason. They are the minimum which you, as a cinematographer or lighting director, should know. Now, we’ll jump to the next level by adding two more lights that will serve to separate subject from background even more, while also achieving a more aesthetically interesting image.
The first of these lights is the background light. Not to be confused with the backlight, the background light does just what you think it would do: light the background. In an effort to gain not only more separation between subject and background, but also to show that the subject is not just floating in a void, the background light (or lights) is a unit which can really allow you to shine (no pun intended). It doesn’t only have to be one light. The number and wattage of units you use depends on the situation for which you are lighting and the look you’re trying to achieve. Remember to keep it simple.
In our scenario, a single 600 watt fresnel with barndoors can create a striking image. By closing the doors enough to create a relatively narrow slash of light, you can “rake” the light across objects in the background, creating contrast and dimension. Add a colored gel to the light, and you have a subtle modeled background with a hint of color. If the situation calls for more high key lighting, try opening the barndoors and flooding the light. Or, add a new unit of a different wattage and from a different angle to create interesting highlights and shadows. The key here is to not overdo it, as too much business in the background can be distracting. Also, avoid shiny objects having reflections you can’t control. Finally, depending on the situation, you may want to consider what light sources in your scene might be motivating the light in the shot. It might not matter so much with night shots, but day interiors can be tricky.
The second light source is a little known and underused light called the kicker. Sometimes referred to as an edge light, the kicker gets its name from its normal position low to the ground and aimed at the subject. The key to an effective kicker is to aim it so that it creates a lighted edge. Again, this light serves to separate the subject from the background. Many cinematographers like to add diffusion or some kind of softening material to create a gentle sheen that reflects off the cheek. You can even use some kind of reflector or a KinoFlo light to create the effect. Other DPs like a nice, hard edge light that sharpens the shapes on the face. It’s a choice that should be made in pre-production, but of course can be modified on set. Again, take into consideration motivation for the lights.
As with any lighting situation, personal style and shot motivation should be taken into account. If you feel that the kicker or the backlight would be unmotivated in a shot, leave it out. If you’re shooting a film noir style movie, you may want to use only a key light and an edge light. Most modern film lighting is naturalistic, meaning lots of diffused light from motivated sources. A good lesson would be to watch an old black and white film noir, then a modern drama, and compare the two lighting styles. See how shadows and highlights are created. Guess what kind of lighting unit was used, where it was placed, and whether it’s a ‘hard’ light or a ‘soft’ light. Then try the techniques for yourself using a friend, a dark room, and any type of lighting unit you can get your hands on.
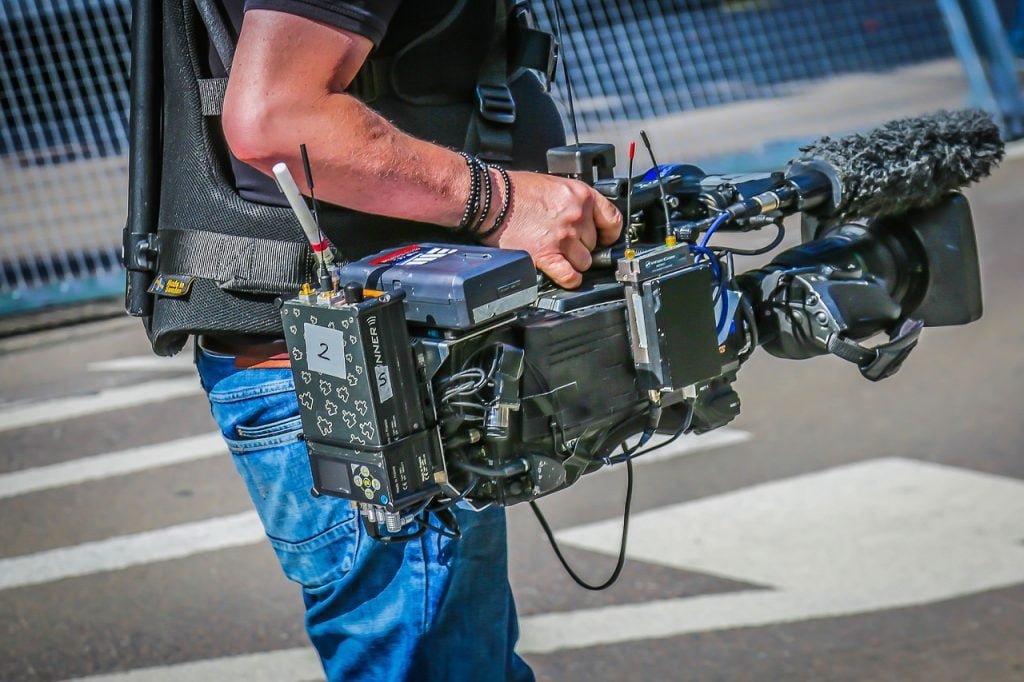
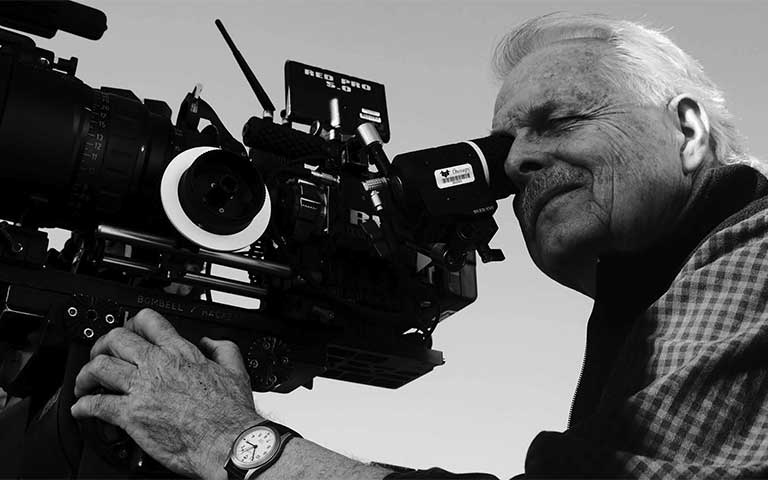
Photos by Chris Cavallari.
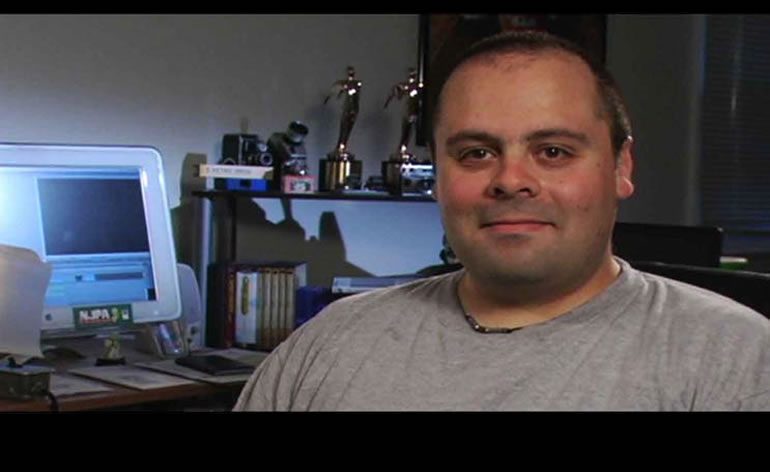
Chris Cavallari has been working in television, video, and film for 13 years as an award-winning cameraman, cinematographer, director, producer, editor, and grip. By day, he is the Lead Television Studio Technician for an Internet TV Network; by night, he writes and directs films and podcasts for his company Filmosity Productions.
His website is www.filmosity.com.